How to install Nginx webserver on Mac OS X
Before start you should ensure that you have Command Line Tools installed in your mac. It is part of XCode. You should have it installed and updated.
- Install Command Line Tools if not exist
xcode-select --install
- Install Nginx using Homebrew
brew tap homebrew nginx
brew install nginx
- Test Installation
## Start Nginx
sudo nginx

## Check if Nginx is running on 8080 port
curl -IL http://127.0.0.1:8080
- Output should look like this
HTTP/1.1 200 OK
Server: nginx/1.12.1
Date: Sat, 11 Nov 2017 21:11:39 GMT
Content-Type: text/html
Content-Length: 138
Last-Modified: Sat, 11 Nov 2017 19:49:46 GMT
Connection: keep-alive
ETag: "5a07545a-8a"
Accept-Ranges: bytes
- Also you can open http://127.0.0.1:8080 in your browser. You should get the next page
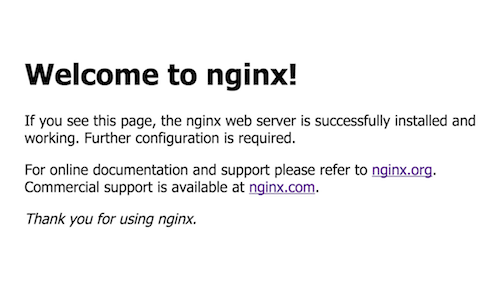
Nginx installed successful.
I prefer to make configurations for virtual hosts right after webserver installation. You can do the same using following instructions
- Prepare dirs before making configuration
mkdir -p /usr/local/etc/nginx/logs
mkdir -p /usr/local/etc/nginx/sites-available
mkdir -p /usr/local/etc/nginx/sites-enabled
sudo mkdir -p /var/www
sudo chown :staff /var/www
sudo chmod 775 /var/www
- Prepare default content for webpages. Create /var/www/localhost/index.html file with following content
<!DOCTYPE html>
<html>
	<head>
		<title>Localhost</title>
	</head>
	<body>
		<h1>It Works!</h1>
		<p>Welcome to Nginx</p>
	</body>
</html>
- Edit Nginx config file /usr/local/etc/nginx/nginx.conf and make it look like this
worker_processes 1; error_log /usr/local/etc/nginx/logs/error.log debug; events { worker_connections 1024; } http { include mime.types; default_type application/octet-stream; log_format main '$remote_addr - $remote_user [$time_local] "$request" ' '$status $body_bytes_sent "$http_referer" ' '"$http_user_agent" "$http_x_forwarded_for"'; access_log /usr/local/etc/nginx/logs/access.log main; sendfile on; keepalive_timeout 65; index index.html index.php; include /usr/local/etc/nginx/sites-enabled/*; } - Create /usr/local/etc/nginx/sites-available/default file with following content
server { listen 80; server_name localhost; root /var/www/localhost/; access_log /usr/local/etc/nginx/logs/default.access.log; error_log /usr/local/etc/nginx/logs/default.error.log; error_page 404 /404.html; error_page 403 /403.html; } - Make symbolic link to sites-avalable/default into sites-enabled
sudo ln -s /usr/local/etc/nginx/sites-available/default /usr/local/etc/nginx/sites-enabled/default
- Save files and restart Nginx
sudo nginx -s stop
sudo nginx
- Check how Nginx works
curl -IL http://localhost
- Output should look like this
HTTP/1.1 200 OK
Server: nginx/1.12.1
Date: Sat, 11 Nov 2017 21:29:44 GMT
Content-Type: text/html
Content-Length: 138
Last-Modified: Sat, 11 Nov 2017 19:49:46 GMT
Connection: keep-alive
ETag: "5a07545a-8a"
Accept-Ranges: bytes
- Also you can open your browser with http://localhost. You should see neext
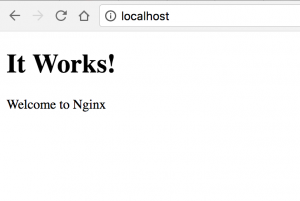
Nginx installed. Next post will be about Nginx and PHP configurations

0 Comments