Nginx + MySQL configurations
Here is instructions how to install MySQL and PhpMyAdmin on Mac OS X
1. Download and install DMG file.
Link for downloading : https://dev.mysql.com/downloads/mysql/
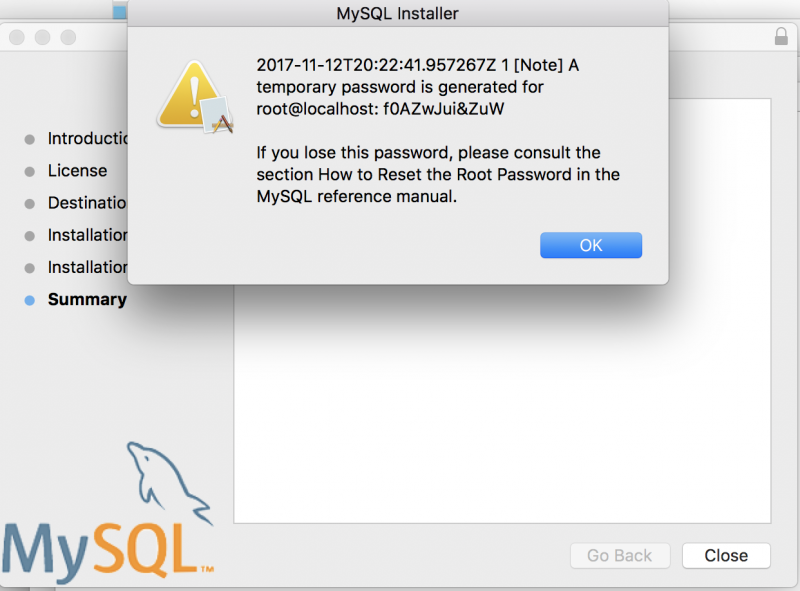
2. Installer will generate temporary root password. Save it in text file for next steps.
3. Add /usr/local/mysql/bin to PATH
If you use ZSH open ~/.zshrc file and add
export PATH=/usr/local/mysql/bin:$PATH
at the end of file. Save this file and restart all Terminal windows.
4. Change MySQL root password
mysqladmin -u root -p password root
5. start MySQL service
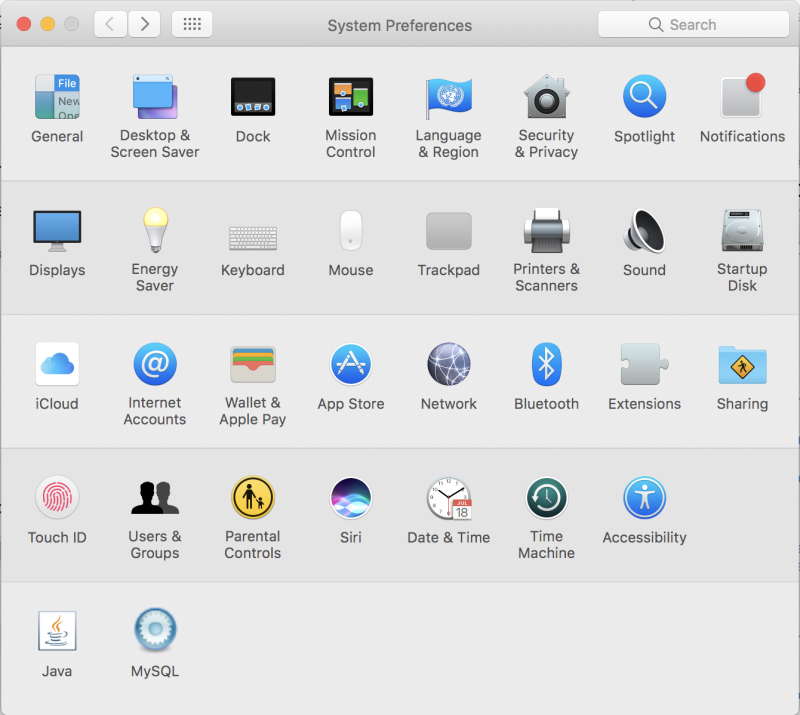
Open SystemPreferences and click on MySQL preferences.
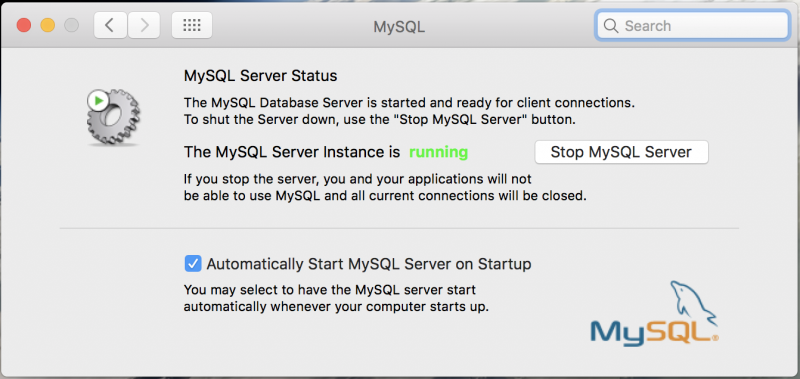
Click on “Start MySQL Server” and put tick on “Automatically Start MySQL Server on Startup”
6. Check mysql from Terminal
Open Terminal and run. Enter password which you have setup in step number 4.
mysql -uroot -p
You should see output like this:
➜  ~ mysql -uroot -p
Enter password:
Welcome to the MySQL monitor.  Commands end with ; or \g.
Your MySQL connection id is 123
Server version: 5.7.20 MySQL Community Server (GPL)

Copyright (c) 2000, 2017, Oracle and/or its affiliates. All rights reserved.

Oracle is a registered trademark of Oracle Corporation and/or its
affiliates. Other names may be trademarks of their respective
owners.

Type 'help;' or '\h' for help. Type '\c' to clear the current input statement.

mysql>
To exit from MySQL console type exit and hit ENTER
You have installed MySQL.
To make work with MySQL more comfortable I suggest to install PhpMyAdmin.
Next post will be about it : https://www.hrupin.com/2017/11/how-to-install-phpmyadmin-nginx-in-mac-os-x

0 Comments